Getting Started
How to get started with the Open Mower project.
Before You Start
Build Notes
- Use this guide for YardForce Classic 500 and 500B builds with OpenMower v1 hardware.
- Read the robot assembly, charging-station assembly, and software setup sections before starting the build.
- The OpenMower mainboard uses the charging-station conversion described in this guide.
- If you have questions during the build, ask in the OpenMower Discord.
Prerequisites
Read this section thoroughly to understand which components you will need for the Open Mower project and why you need them. This will prevent unnecessary expenses and ensure you are well-prepared.
Required Knowledge
- Linux: You should be comfortable setting up a Raspberry Pi and editing configuration files.
- Electronics: Basic experience with PCBs, wiring, connectors, and soldering helps the build go smoothly.
Required Parts
The Open Mower project involves several key components:
- The Robot: A modified lawn-mowing robot. You will use the case and motors from an off-the-shelf robot and replace the electronics with custom components. You can either purchase the custom electronics or solder the parts yourself.
- RTK GPS: Precision is achieved with RTK GPS, which uses two receivers: one on the robot and one fixed base station. The base station sends error correction data to the robot, enabling centimeter accuracy. This can be done using Wi-Fi or another long-range radio. Note: Some cloud services offer RTK error corrections, both free and paid.
- Charging Station: The robot uses the charging-station conversion documented in this guide.
Ready to start? Check out the Shopping List.
Build Steps
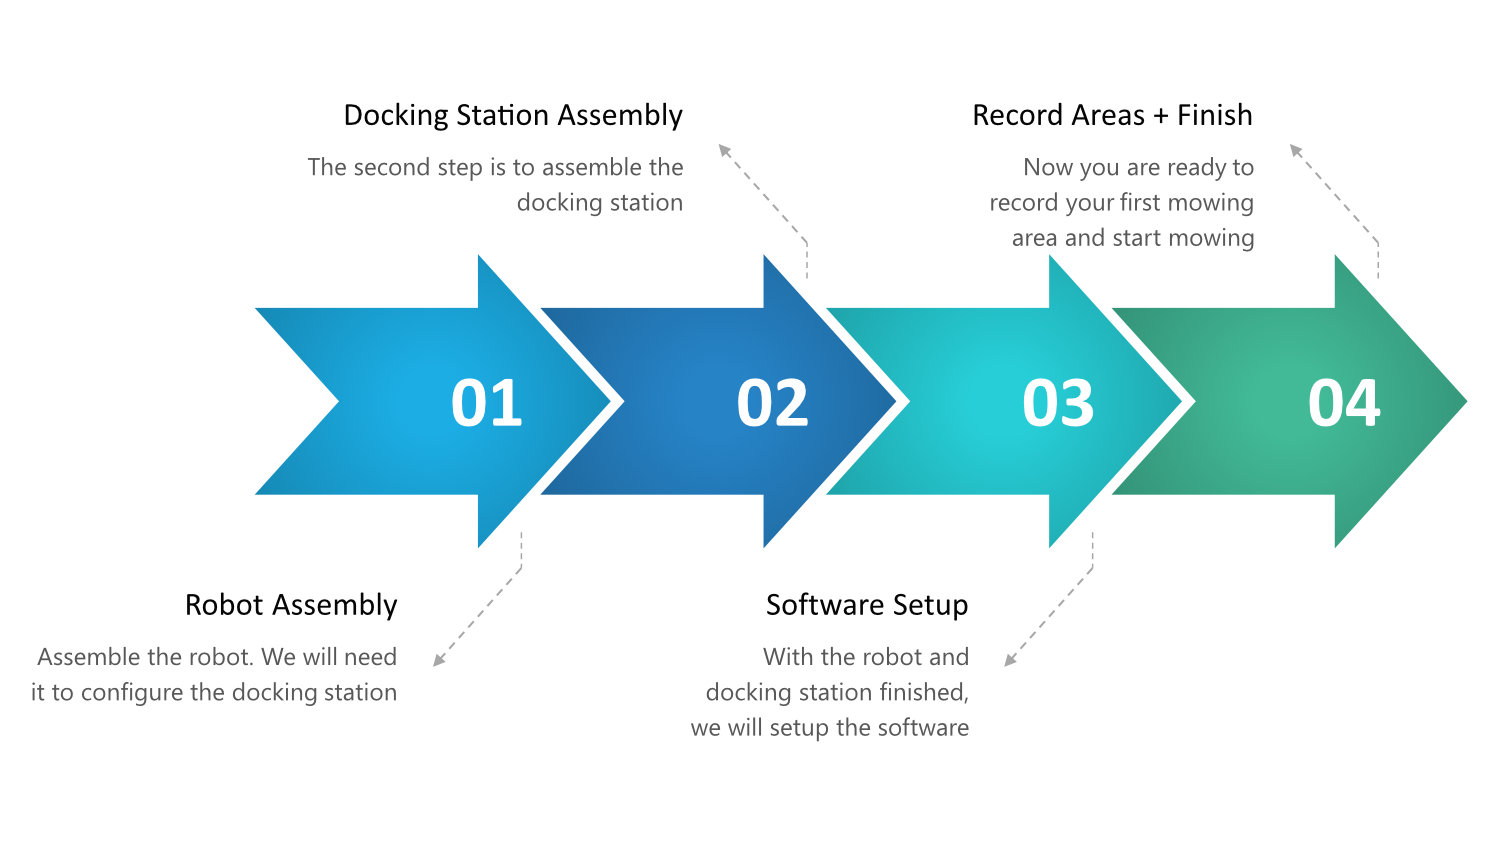
Follow these steps in order to build your OpenMower:
- First, modify the robot following the Robot Assembly steps.
- Next, modify the charging station using the Docking Station Assembly guide.
- Set up the software. This step connects the robot to your Wi-Fi, downloads the OpenMower software, and involves general configuration. Ensure the docking station assembly is complete before starting this step to avoid battery drain.
- Finally, with the software running, use the Open Mower App to record your mowing and navigation areas, and start mowing.
If you have the parts and are ready to assemble the robot, read the Robot Assembly documentation.